How to Build a REST API for a Modern Web Application: A Practical Guide
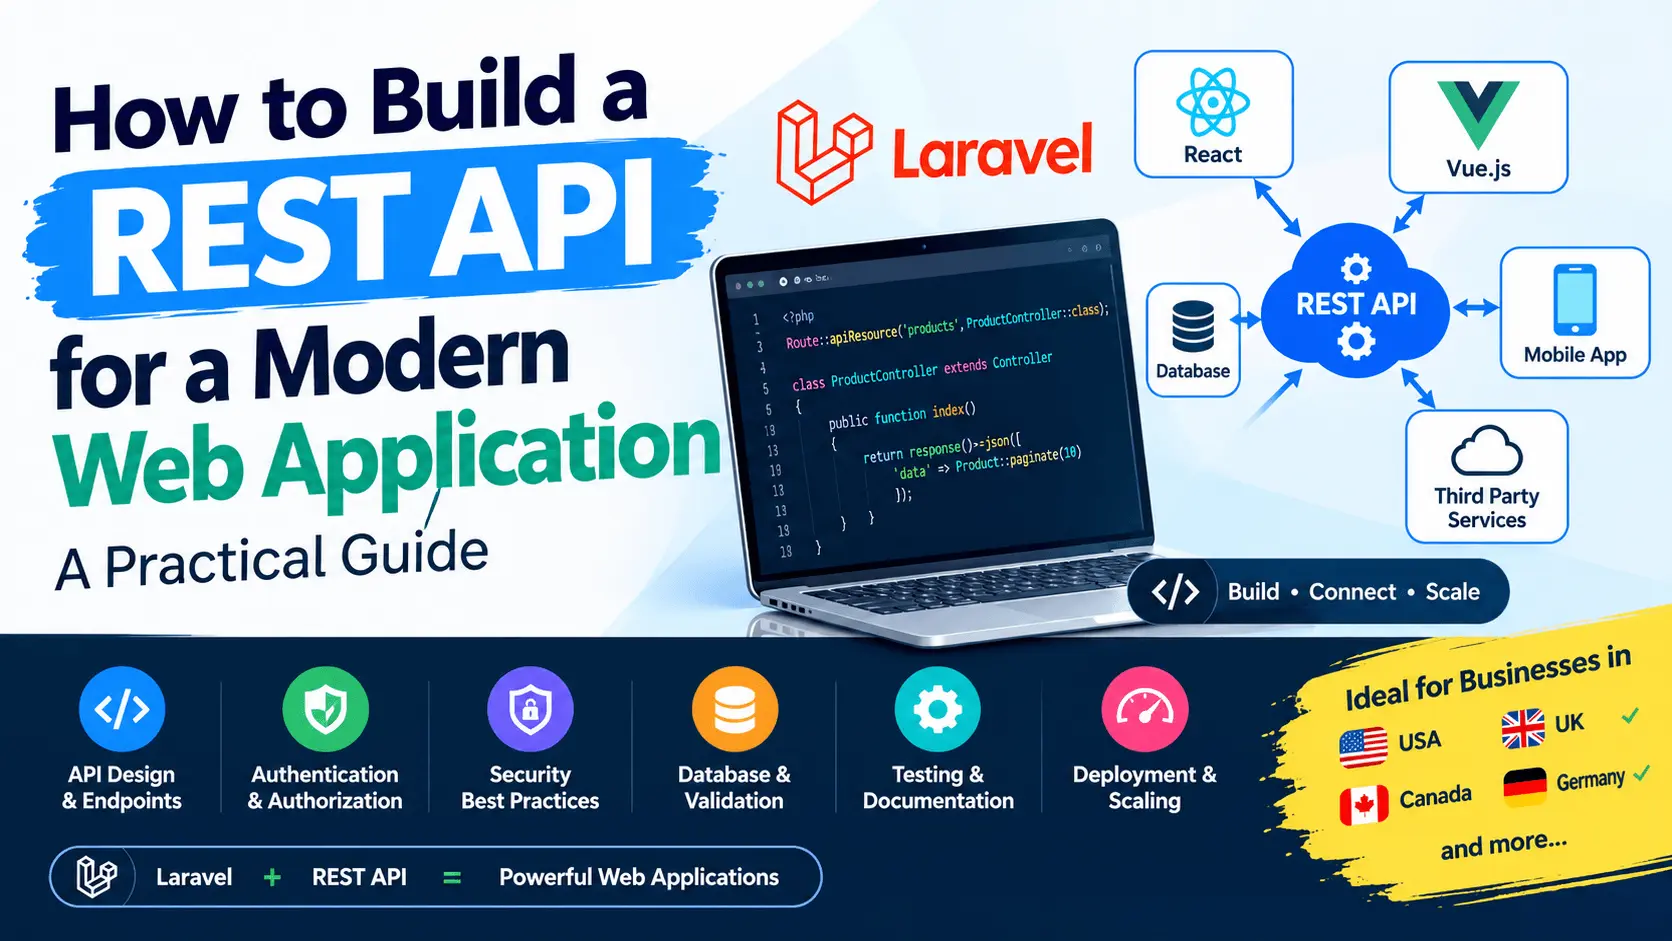
Modern web applications rarely work as a single, isolated system.
A business application might have a React or Vue.js frontend, a Laravel or Node.js backend, a mobile application, an admin dashboard, third-party integrations, and external services—all communicating with the same underlying data and business logic.
A REST API provides a structured way for these different systems to communicate.
For businesses in the USA, UK, Canada, Germany, and other international markets, a well-designed API can make it easier to build SaaS platforms, customer portals, e-commerce systems, dashboards, mobile applications, and custom business software.
In this practical guide, we'll walk through how to plan and build a REST API, using Laravel as an example backend technology.
What Is a REST API?
REST stands for Representational State Transfer. A REST API allows different applications to communicate over HTTP using resources and standard HTTP methods.
For example, imagine an e-commerce application with a
productsGET /api/products GET /api/products/25 POST /api/products PUT /api/products/25 PATCH /api/products/25 DELETE /api/products/25
These endpoints allow a frontend or another application to retrieve, create, update, and delete resources.
HTTP defines different request methods with specific semantics. For example,
GETPOSTDELETEWhy REST APIs Matter for Modern Web Applications
Consider a modern SaaS application:
┌───────────────┐
│ React / Vue   │
│ Web App       │
└───────┬───────┘
        │
        ▼
┌───────────────┐
│ REST API      │
└───────┬───────┘
        │
┌───────┼───────┐
▼       ▼       ▼
DB   Services Integrations
The API becomes the communication layer between the frontend and backend. The same API can potentially serve:
- Web applications
- Mobile applications
- Admin dashboards
- Customer portals
- Partner applications
- Internal tools
- Third-party integrations
This separation can make a system easier to develop and maintain when the architecture is designed appropriately.
Step 1: Define Your API Requirements
Before writing code, determine what the API actually needs to do. Start by identifying your application's main resources.
For an e-commerce application: Users, Products, Categories, Orders, Payments, Reviews
For a SaaS platform: Users, Organizations, Teams, Projects, Tasks, Subscriptions, Invoices, Reports
For a learning platform: Users, Courses, Lessons, Enrollments, Quizzes, Certificates, Payments
Once you identify the resources, determine what operations are required for each one. For example:
| Resource | Operations |
|---|---|
| Products | List, view, create, update, delete |
| Orders | List, view, create, update |
| Users | View, update |
| Categories | List, create, update, delete |
This step helps prevent your API from becoming a collection of randomly designed endpoints.
Step 2: Design Your API Endpoints
Good API design starts with consistent resource naming.
For example:
/api/products
/api/products/{id}
/api/orders
/api/orders/{id}
/api/customers
/api/customers/{id}
Instead of creating endpoints such as
/api/getProducts/api/createProduct/api/updateProductGET /api/products POST /api/products GET /api/products/10 PUT /api/products/10 DELETE /api/products/10
This creates a predictable API structure for frontend developers and other consumers.
Step 3: Use API Versioning
As your application grows, API requirements can change. Imagine you launch:
/api/v1/productsSeveral months later, you introduce a redesigned response structure. Existing mobile applications or third-party integrations may still depend on the original API. Versioning can help you introduce changes without immediately breaking existing clients.
For example:
/api/v1/products
/api/v2/products
Step 4: Choose the Backend Technology
There are many technologies capable of building REST APIs. Popular options include:
- Laravel / PHP
- Node.js
- Django / Python
- ASP.NET Core
- Spring Boot
- Ruby on Rails
- Go
For PHP applications, Laravel provides a strong development environment for building APIs and business applications. Laravel's routing and controller system supports resource-oriented application patterns, including CRUD-style operations through resource controllers.
Step 5: Create Your Laravel API
A typical Laravel application might organize API routes in
routes/api.phpFor example:
use App\Http\Controllers\Api\ProductController;
use Illuminate\Support\Facades\Route;

Route::apiResource('products', ProductController::class);
This can provide standard API routes for the
ProductControllerStep 6: Build Your API Controller
A controller should handle the HTTP request and coordinate the application's business logic.
namespace App\Http\Controllers\Api;

use App\Http\Controllers\Controller;
use App\Models\Product;
use Illuminate\Http\Request;

class ProductController extends Controller
{
    public function index()
    {
        return Product::latest()->paginate(20);
    }

    public function show(Product $product)
    {
        return $product;
    }

    public function store(Request $request)
    {
        $validated = $request->validate([
            'name' => ['required', 'string', 'max:255'],
            'price' => ['required', 'numeric', 'min:0'],
        ]);

        $product = Product::create($validated);

        return response()->json($product, 201);
    }
}
Note: A production API usually needs additional considerations around authorization, response formatting, validation, business services, logging, transactions, and error handling.
Step 7: Validate Incoming Data
Never assume that data sent by a client is valid. Your API should validate:
- Required fields
- Data types
- String lengths
- Numeric ranges
- IDs
- Relationships
- Business rules
For example:
$request->validate([
    'name' => ['required', 'string', 'max:255'],
    'price' => ['required', 'numeric', 'min:0'],
    'category_id' => ['required', 'integer', 'exists:categories,id'],
]);
Validation is important for both application correctness and security.
Step 8: Design Consistent JSON Responses
Your API should return predictable responses.
For a single record:
{
  "data": {
    "id": 25,
    "name": "Laptop",
    "price": 1200
  }
}
For errors:
{
  "message": "Validation failed.",
  "errors": {
    "name": [
      "The name field is required."
    ]
  }
}
Consistency is important because frontend developers should not have to guess how every endpoint behaves.
Step 9: Use Appropriate HTTP Status Codes
Using meaningful status codes makes your API easier to consume and troubleshoot.
| Status | Typical Meaning |
|---|---|
| 200 | Successful request |
| 201 | Resource created |
| 204 | Successful request with no response body |
| 400 | Bad request |
| 401 | Authentication required/failed |
| 403 | Access forbidden |
| 404 | Resource not found |
| 422 | Validation error |
| 429 | Too many requests |
| 500 | Server error |
Step 10: Implement Authentication
Many APIs contain private data, so authentication is essential. Common approaches include session-based authentication, API tokens, OAuth, JWT, and Cookie-based SPA authentication.
For Laravel applications, Laravel Sanctum provides authentication capabilities for SPAs, mobile applications, and simple token-based APIs.
Authentication Is Not Authorization
- Authentication answers: Who are you?
- Authorization answers: What are you allowed to do?
A customer may be authenticated but should only see their own orders. An administrator may be authenticated and allowed to see all orders.
Step 11: Implement Role-Based Access Control
A business application may have roles such as Super Admin, Admin, Manager, Employee, and Customer.
Each role can have different permissions. For larger applications, permissions should be designed systematically rather than simply hiding buttons in the frontend. The backend must enforce authorization.
Step 12: Protect Against API Security Risks
API security should be considered from the beginning. OWASP's API Security Top 10 includes risks such as broken object-level authorization, broken authentication, unrestricted resource consumption, and security misconfigurations.
Step 13: Add Rate Limiting
Rate limiting can restrict how frequently a client can call an endpoint (e.g., 60 requests / minute). Sensitive endpoints such as login, password recovery, OTP verification, and payment operations require stricter controls.
Step 14: Configure CORS Correctly
Cross-Origin Resource Sharing (CORS) controls whether browsers allow web applications to make requests across origins. Don't simply allow every origin in production; configure CORS according to your actual frontend and API architecture.
Step 15: Use HTTPS
API requests often contain personal data, payment info, and session credentials. Production APIs should use HTTPS so communication between clients and servers is encrypted in transit.
Step 16: Handle Pagination
Returning thousands of database records in one API response is usually a bad idea. Instead, use pagination (
GET /api/orders?page=1Step 17: Add Filtering, Sorting and Searching
Modern APIs often need more than basic CRUD.
- Filtering:
GET /api/products?category=5&status=active - Searching:
GET /api/products?search=laptop - Sorting:
GET /api/products?sort=-created_at
Step 18: Use API Resources or Transformers
You shouldn't necessarily return your database models directly to avoid exposing fields like
passwordinternal_notesStep 19: Separate Business Logic From Controllers
A common mistake is putting too much business logic inside controllers. A better architecture separates responsibilities: Controller ➔ Request Validation ➔ Service / Business Logic ➔ Repository / Model ➔ Database
Step 20: Document Your API
A good API isn't complete until developers can understand how to use it. Documentation should explain Base URLs, endpoints, methods, parameters, request bodies, formats, errors, and rate limits. Consider using tools like OpenAPI.
Step 21: Test Your API
Don't wait until the frontend is finished to discover API problems. Use tools like Postman, Insomnia, PHPUnit, or Pest to test successful requests, invalid data, authentication, authorization, rate limits, and edge cases.
Step 22: Monitor Your API
Once your API goes into production, monitor response times, error rates, server resources, database performance, and authentication failures.
A Practical REST API Architecture
A modern Laravel-based application could look like this:
Web Browser
     │
     ▼
┌─────────────────┐
│ React / Vue.js  │
└────────┬────────┘
         │ HTTPS
         ▼
┌─────────────────┐
│ REST API        │
│ (Laravel)       │
└────────┬────────┘
Additional infrastructure might include Redis Queues, Object Storage, Email Services, Payment Gateways, and CDNs.
Example: REST API for a SaaS Application
Imagine you're building a SaaS project management platform. Your API could serve a React Web Application, a Mobile Application, an Admin Dashboard, and Third-party Integrations simultaneously. This is one of the major benefits of an API-first architecture.
REST API Security Checklist
Before launching a production API, review:
- HTTPS enabled
- Authentication & Authorization implemented
- Object-level authorization checked
- Input validation implemented
- Sensitive fields excluded from responses
- Rate limiting & CORS configured correctly
- Error responses don't expose sensitive information
- API tokens handled securely
- Logs, monitoring, and automated tests configured
REST API Development for Businesses
Businesses in the USA, UK, Canada, Germany, and international markets depend on APIs to connect their digital systems. An API can become the integration layer between a Website, CRM, Payment Platform, Accounting System, and ERP.
When Should You Build a Custom REST API?
A custom API makes sense when your business needs:
- Custom web applications (CRM, ERP, HR system)
- A SaaS platform
- A mobile application
- Multiple frontend applications communicating with the same backend
- Third-party integrations
Common REST API Mistakes
- Designing endpoints without a consistent structure
- Ignoring authorization
- Returning too much database data
- No validation
- No pagination
- No rate limiting
- Putting all business logic in controllers
- No documentation
- Ignoring versioning
- Treating security as an afterthought
Need a Laravel or SaaS Developer?
If you need an experienced engineer to build your custom Laravel application, SaaS platform, API layer, or business system:
👉 View My Custom Laravel Web Application & SaaS Development Gig on Fiverr
Or explore my profile and reviews: Russel Hussain on Fiverr
For larger SaaS projects, I recommend discussing your scope and technical architecture first so we can define the roadmap, tech stack, and milestones effectively.